Importing the OVA for Photon OS 3.0
Using the OVA is a fast and easy way to create a Photon OS VM on VMware vSphere.
After you have downloaded the OVA, log in to your vSphere environment and perform the following steps:
Start the Import Process
From the Actions pull-down menu, choose Create/Register VM.
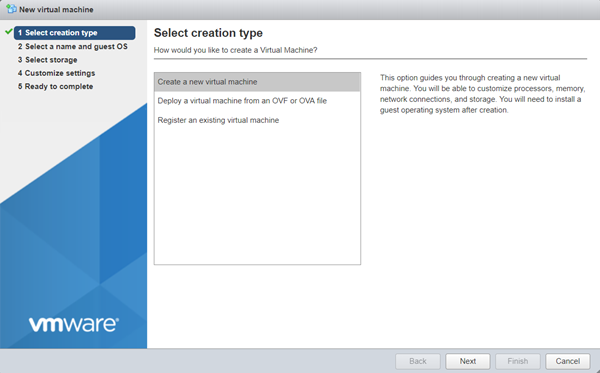
In the Select creation type window, choose Deploy a virtual machine from an OVF or OVA file.
(images/vs-ova-new-vm-ova.png)
Choose Next.
Select the OVA File
Enter a name for the virtual machine, and select the OVA file.
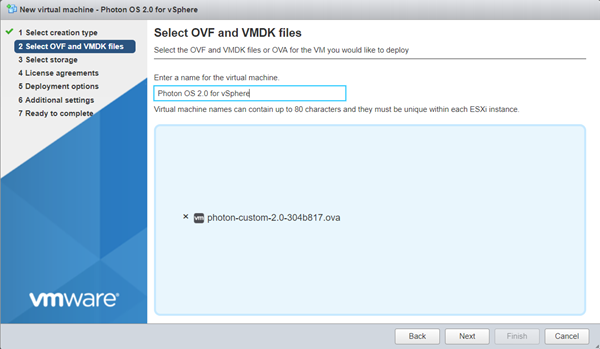
Choose Next.
Specify the Target Datastore
From the Select storage screen, select the target datastore for your VM.
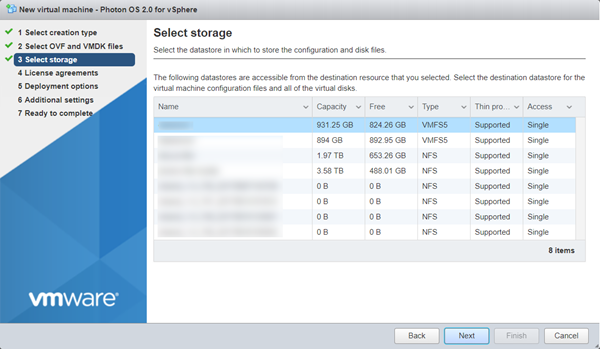
Choose Next.
Accept the License Agreement
Read through the Photon OS License Agreement, and then choose I Agree.
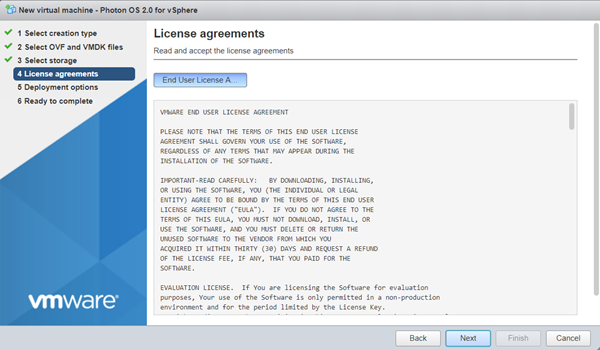
Choose Next.
Select Deployment Options
Photon OS is provisioned with a maximum disk size. By default, Photon OS uses only the portion of disk space that it needs, usually much less that the entire disk size ( Thin client). If you want to pre-allocate the entire disk size (reserving it entirely for Photon OS instead), select Thick instead.
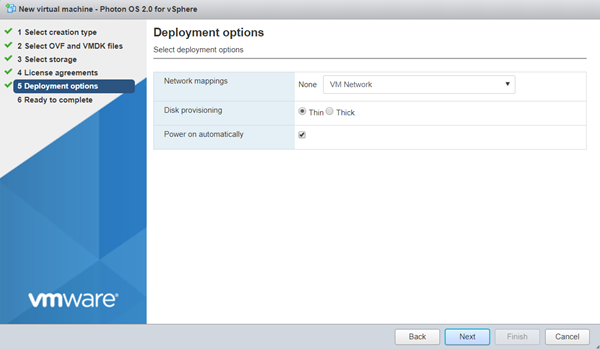
Choose Next.
Verify Deployment Settings
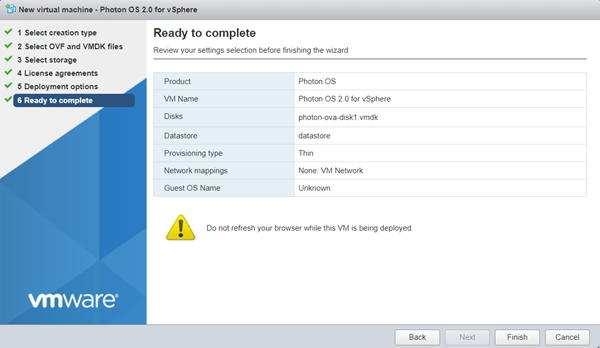
Click **Finish**. vSphere uploads and validates your OVA. Depending on bandwidth, this operation might take a while.
When finished, vShield powers up a new VM based on your selections.
Change Login Settings
After the VM is booted, open the command window. vSphere prompts you to log in.
Note: Because of limitations within OVA support on vSphere, it was necessary to specify a default password for the OVA option. However, all Photon OS instances that are created by importing the OVA require an immediate password change upon login. The default account credentials are:
 - Username: ``root``
 - Password: ``changeme``
After you provide these credentials, vSphere prompts you to create a new password and type it a second time to verify it.
Note: For security, Photon OS forbids common dictionary words for the root password.
Once logged in, you will see the shell prompt.

Once complete, proceed to Deploying a Containerized Application in Photon OS.
Export the VM as a Template (Optional)
Consider converting this imported VM into a template (from the Actions menu, choose Export ) so that you have a master Photon OS instance that can be combined with vSphere Guest Customization to enable rapid provisioning of Photon OS instances.