Notebooks
Introduction
Kubeflow on vSphere Notebooks provide a way to run web-based development environments, Jupyter Notebooks inside your Kubernetes cluster by running them inside Pods.
Jupyter Notebook is an interactive web-based computational environment that allows you to create and share notebook files that contain live code, equations, visualizations, and narrative text. It supports many programming languages, including Python, R, and Julia, among others.
Jupyter Notebook is particularly popular among data scientists, researchers, and educators because of its ability to combine code with rich text, making it easy to communicate ideas, results, and analyses with others. It also allows you to run code in small, testable chunks, making it easy to experiment and debug code.
Get Started
Create a Kubeflow on vSphere Notebook
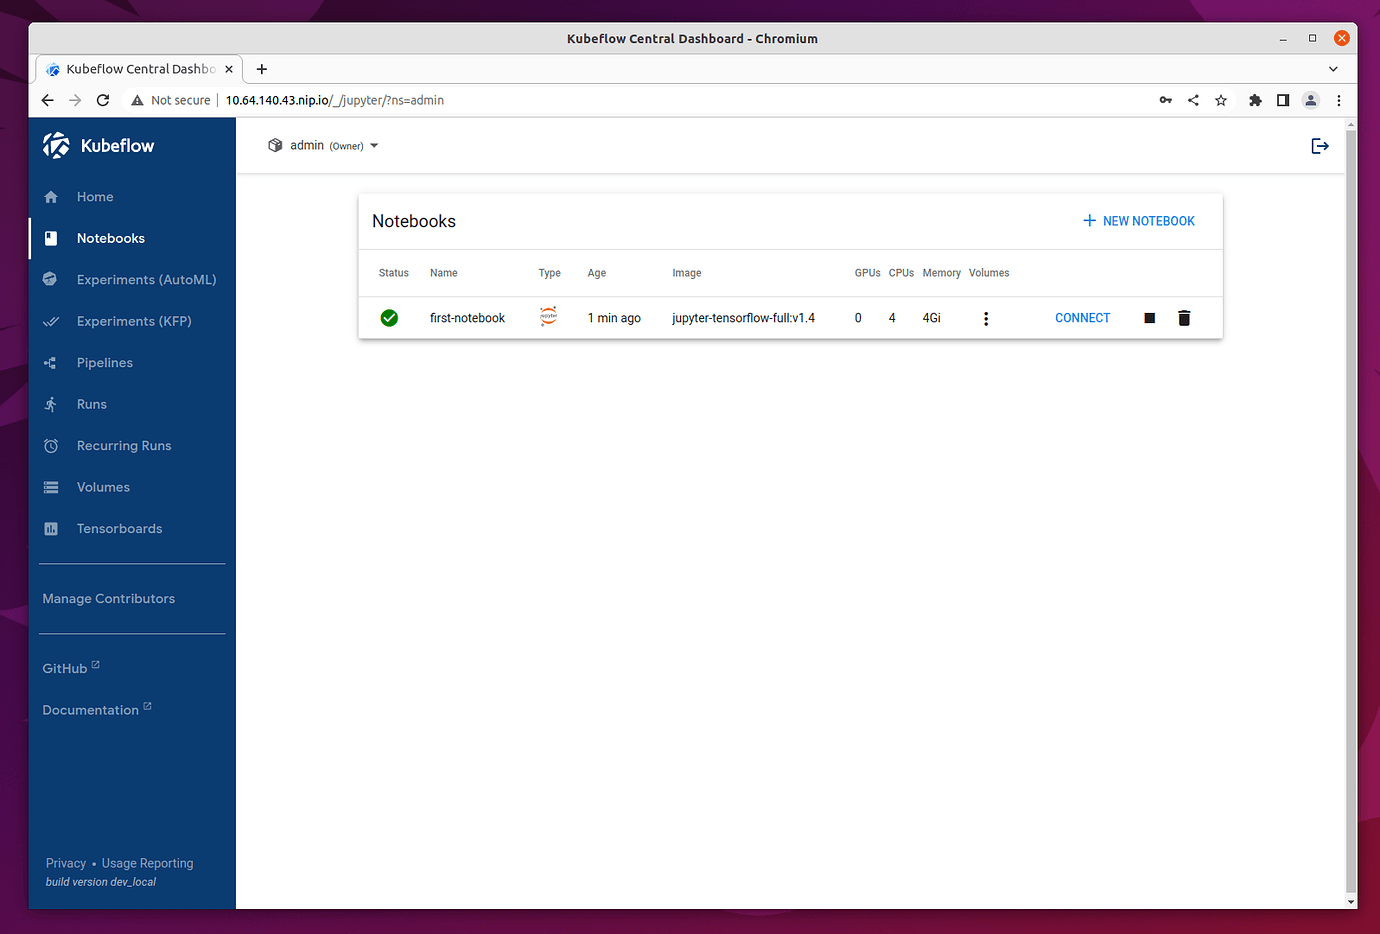
The dashboard gives you an overview of the Notebook Servers currently available on your Kubeflow on vSphere installation. In a freshly installed Kubeflow on vSphere there is no Notebook Server. You will create a new Notebook Server by clicking on Notebooks in the left-side navigation and then clicking on the + New Notebook link in blue at the top right corner.
In the New Notebook page, you are able to specify several options for the notebook you are creating. First, give it a name in the Name field. In the image dropdown list, choose an image with jupyter-tensorflow-full in the name. It is required for your example notebook. (More details about container images used for Notebook Servers are introduced later.) Please leave the CPU and memory requirements to the default values.
Once the Notebook Server is created, you connect to it by clicking on the CONNECT link in blue on the right side and access your Jupyter Notebook environment which is opened in a new tab.

Use the Tensorflow 2 quickstart for experts example to test the server.
Click on the above link and click on the Download Notebook button just below the heading. It downloads the file advanced.ipynb into your usual download location. This file is used to create the example notebook.
On the Notebook Server page, click on the Upload Files (up arrow) button, which is located in the side-bar at the top, and select the file advanced.ipnyb.
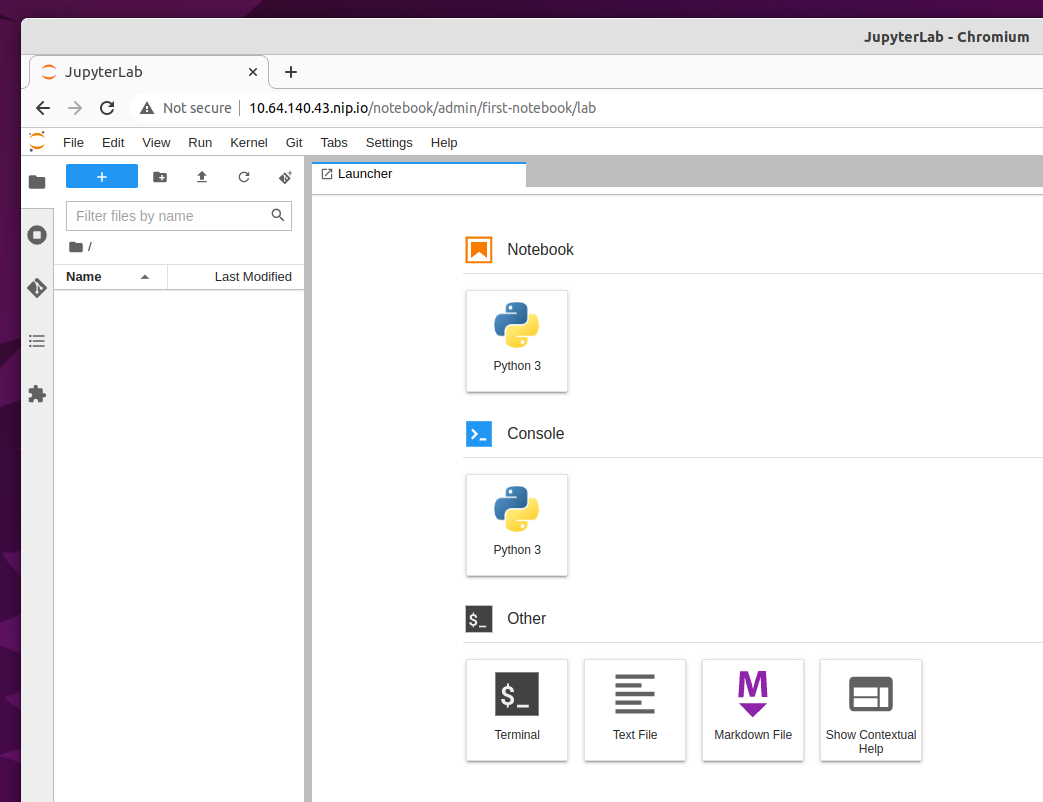
Once uploaded, click on the notebook name to open a new tab with the notebook content.
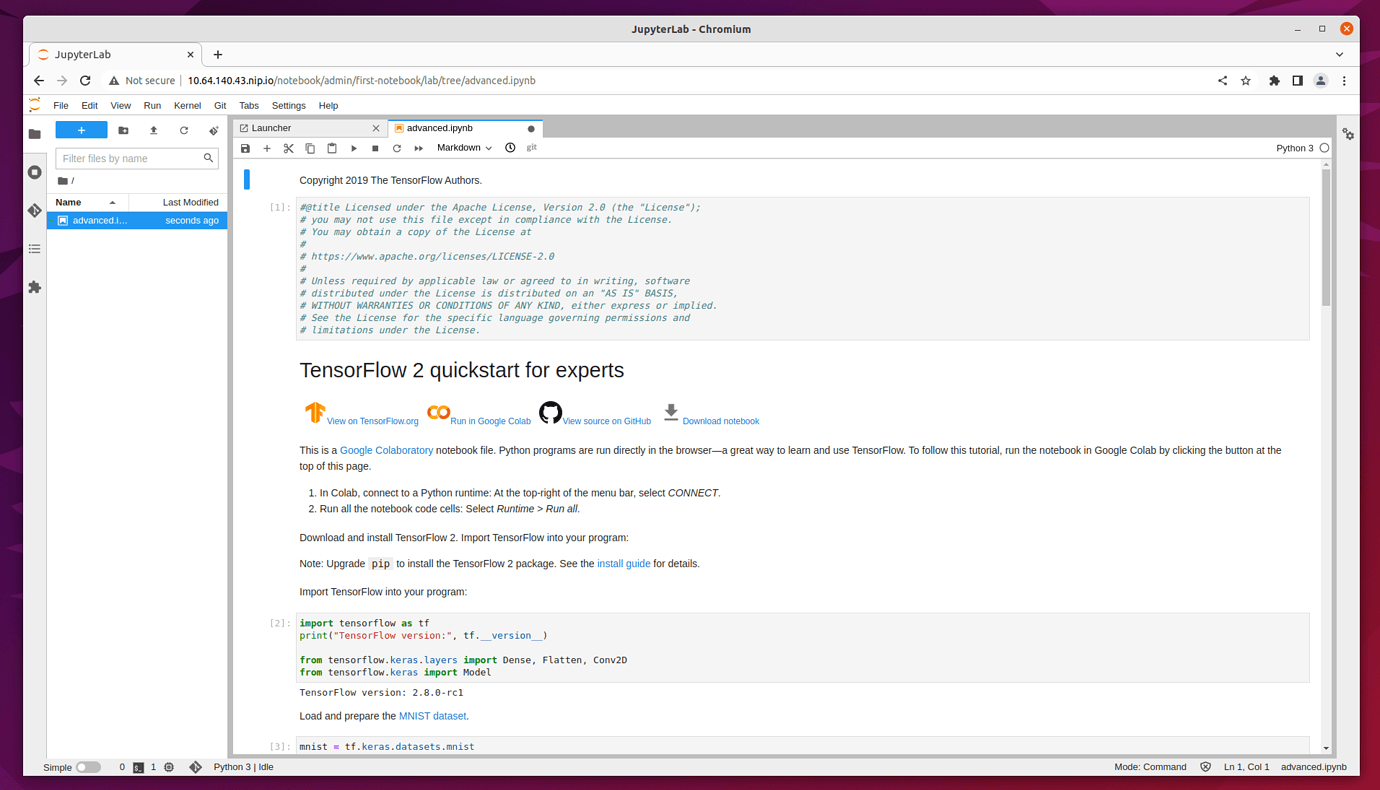
You may read through the content for a better understanding of what this notebook does. Click on the Run button ▶︎ to execute each cell of the notebook, or click on the double-right arrows >> to execute the entire notebook.
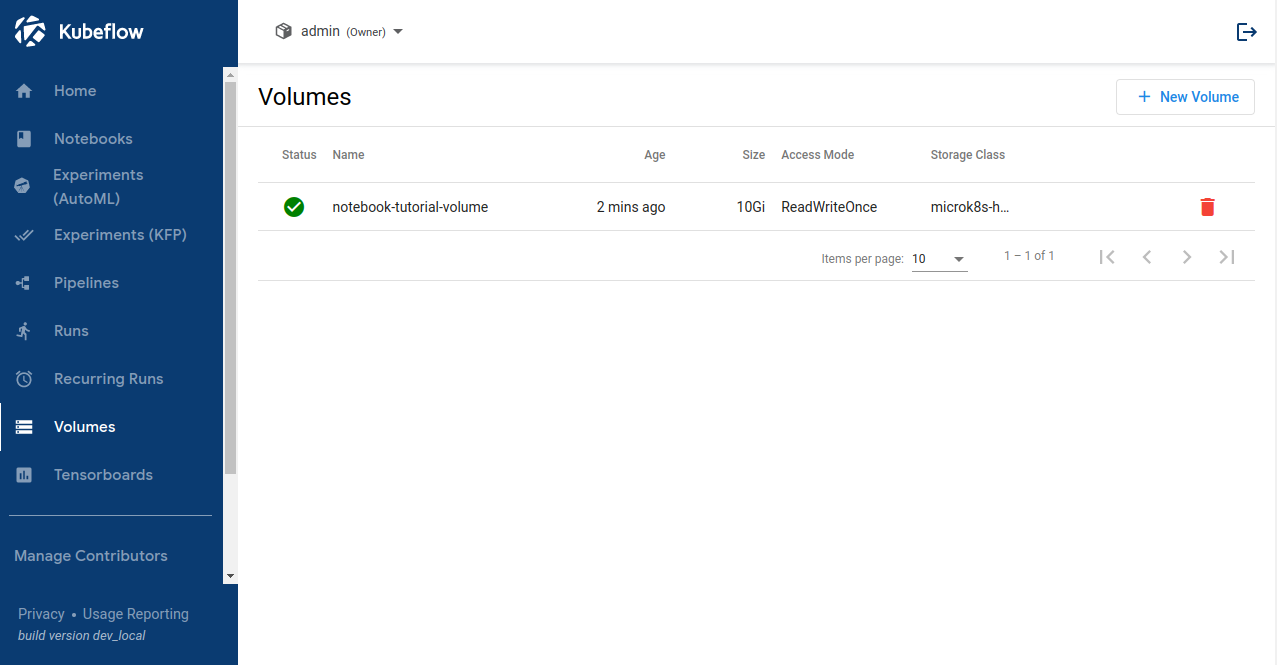
Kubeflow on vSphere Notebook Volumes
In order to see the volumes of the notebook that you just created, click on the three dots button in Volumes column of the notebook chosen. You see a volume with name dshm and another one with the same name as the notebook plus suffix -volume.
Delete a Kubeflow on vSphere Notebook
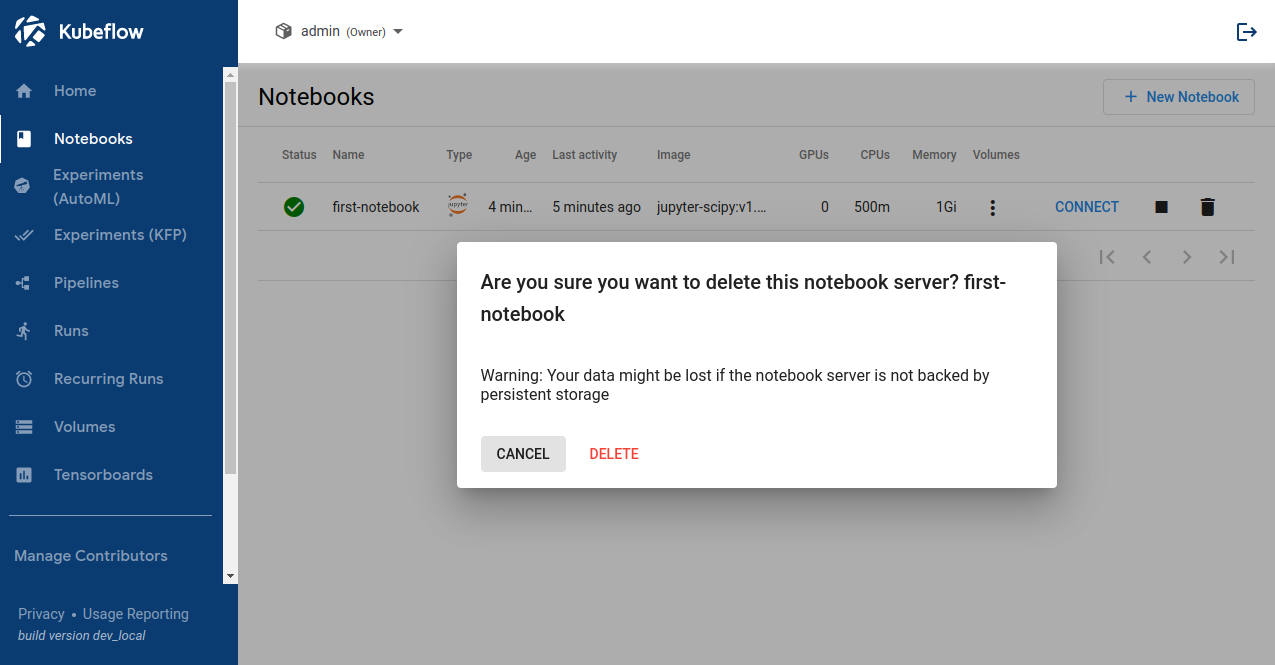
To delete a notebook, you first click on Notebooks in the left-side navigation. Then,go to the notebook you want to delete, and click on the small trash bin icon along with the notebook.
A prompt box appears on your screen. Click DELETE in red.
Container Images
Earlier, you chose an image with jupyter-tensorflow-full in name to create the Notebook Server. Now, we introduce you to container images in more details.
Kubeflow on vSphere Notebooks natively supports three types of notebooks: JupyterLab, RStudio, and Visual Studio Code (code-server). But any web-based IDE should work. Notebook Servers run as containers inside a Kubernetes Pod, which means the Docker image you pick for your server determines the type of IDE (and which packages are installed) to use.
Provided Images
You can get started with a number of example container images listed in the following table. In addition, each of the links in the table guides you to a GitHub repo in which you can find the Dockerfile of an example container image.
Dockerfile |
Registry |
Notes |
|---|---|---|
kubeflownotebookswg/jupyter-scipy:{TAG} |
JupyterLab + SciPy packages |
|
kubeflownotebookswg/jupyter-pytorch-full:{TAG} |
JupyterLab + PyTorch (CPU) common packages |
|
kubeflownotebookswg/jupyter-pytorch-cuda-full:{TAG} |
JupyterLab + PyTorch (CUDA) + common packages |
|
kubeflownotebookswg/jupyter-tensorflow-full:{TAG} |
JupyterLab + TensorFlow (CPU) + common packages |
|
kubeflownotebookswg/jupyter-tensorflow-cuda-full:{TAG} |
JupyterLab + TensorFlow (CUDA) + common packages |
|
kubeflownotebookswg/codeserver-python:{TAG} |
code-server (Visual Studio Code) + Conda Python |
|
kubeflownotebookswg/rstudio-tidyverse:{TAG} |
RStudio + Tidyverse packages |