Install Kubeflow on vSphere
This section guides you to install Kubeflow on vSphere.
Note
In this section, we install Kubeflow on vSphere 1.6.1. Configurations are slightly different for other versions.
Prerequisites
Adhere to the following requirements before deploying Kubeflow on vSphere package on Tanzu Kubernetes Grid Service (TKG) clusters.
For the deployment on TKG clusters, Kubeflow on vSphere is installed on a Tanzu Kubernetes Cluster (TKC). So before the deployment of Kubeflow on vSphere, you need to get vSphere and TKC ready.
For a greenfield deployment (no vSphere with Tanzu deployed on servers yet), you need to deploy vSphere with Tanzu first. Please refer to VMware official document vSphere with Tanzu Configuration and Management.
If you’re running vSphere 7.x, to provision TKC, see Workflow for Provisioning Tanzu Kubernetes Clusters Using the TKGS v1alpha2 API.
If you’re running vSphere 8.x, to provision TKC, see Workflow for Provisioning TKG 2 Clusters on Supervisor Using Kubectl.
To use GPU resources on Kubeflow on vSphere, setup vGPU Tanzu Kubernetes Grid (TKG) by following Deploy AI/ML Workloads on Tanzu Kubernetes Clusters.
To connect to the cluster from your client host, see Connect to a Tanzu Kubernetes Cluster as a vCenter Single Sign-On User.
Install
kapp-controlleron the cluster. The Carvel package managerkapp-controlleris preinstalled in latest TKG releases. Run commandkubectl get pod -A | grep kapp-controllerto double check if kapp-controller is running in your environment. (You should see a pod whose name starts with “kapp-controller”.) Otherwise, if you do not have kapp-controller running in your environment, install one release version (see below for further details).Install
kctrl, a kapp-controller’s native CLI on your client host. It is used to install Kubeflow on vSphere Carvel Package. See Installing kapp-controller CLI: kctrl.
Minimally required resources for TKG cluster to install Kubeflow
To install Kubeflow, the TKG cluster must meet the following minimum requirements:
Kubernetes version 1.21, 1.22, 1.23, 1.24 or 1.25
- At least one worker node satisfies below minimum resources requirements:
4 CPU
16GB memory
50GB storage
Note
Above resources requirements of TKG cluster only support a toy version of Kubeflow installation which may not be able to deploy heavy workloads due to limited resources. It is therefore suggested that users should create the TKG cluster with suitable resources depending on the workloads they would like to deploy using Kubeflow.
Deploy Kubeflow on vSphere package on TKG clusters
Note that the below deployment procedure is for Linux and Windows users, but Windows users would need to first install the Windows version of kubectl and kctrl command.
Add package repository
kubectl create ns carvel-kubeflow
kubectl config set-context --current --namespace=carvel-kubeflow

kctrl package repository add --repository kubeflow-carvel-repo --url projects.registry.vmware.com/kubeflow/kubeflow-carvel-repo:1.6.1
If you get the error kctrl: Error: the server could not find the requested resource (post packagerepositories.packaging.carvel.dev), this means the Carvel Custom Resource Definitions (CRD) have not been installed. You can do so by running:
kubectl apply -f https://github.com/vmware-tanzu/carvel-kapp-controller/releases/latest/download/release.yml
If kapp-controller fails to deploy, make sure the PodSecurityPolicy is properly configured:
kubectl create rolebinding psp:serviceaccounts --clusterrole=psp:vmware-system-restricted --group=system:serviceaccounts -n kapp-controller
You can check kapp-controller deployment by running:
kubectl get deployment.apps/kapp-controller -n kapp-controller
NAME              READY   UP-TO-DATE   AVAILABLE   AGE
kapp-controller   0/1     0            0           2m11s
When READY shows 1/1, kapp-controller is running successfully and you can add the package repository again.
Create config.yaml file
Create a config.yaml file which is used in Kubeflow on vSphere installation later.
Note
This YAML file is created based on values schema of Kubeflow on vSphere package, i.e. the configurations. More details are found in Values schema.
cat <<EOF > config.yaml

service_type: "LoadBalancer"

IP_address: ""
CD_REGISTRATION_FLOW: True
EOF
Install Kubeflow on vSphere package
kctrl package install \
    --wait-check-interval 5s \
    --wait-timeout 30m0s \
    --package-install kubeflow \
    --package kubeflow.community.tanzu.vmware.com \
    --version 1.6.1 \
    --values-file config.yaml
This takes a few minutes, so please wait patiently. You see a “Succeeded” message in the end if the installation is successful.
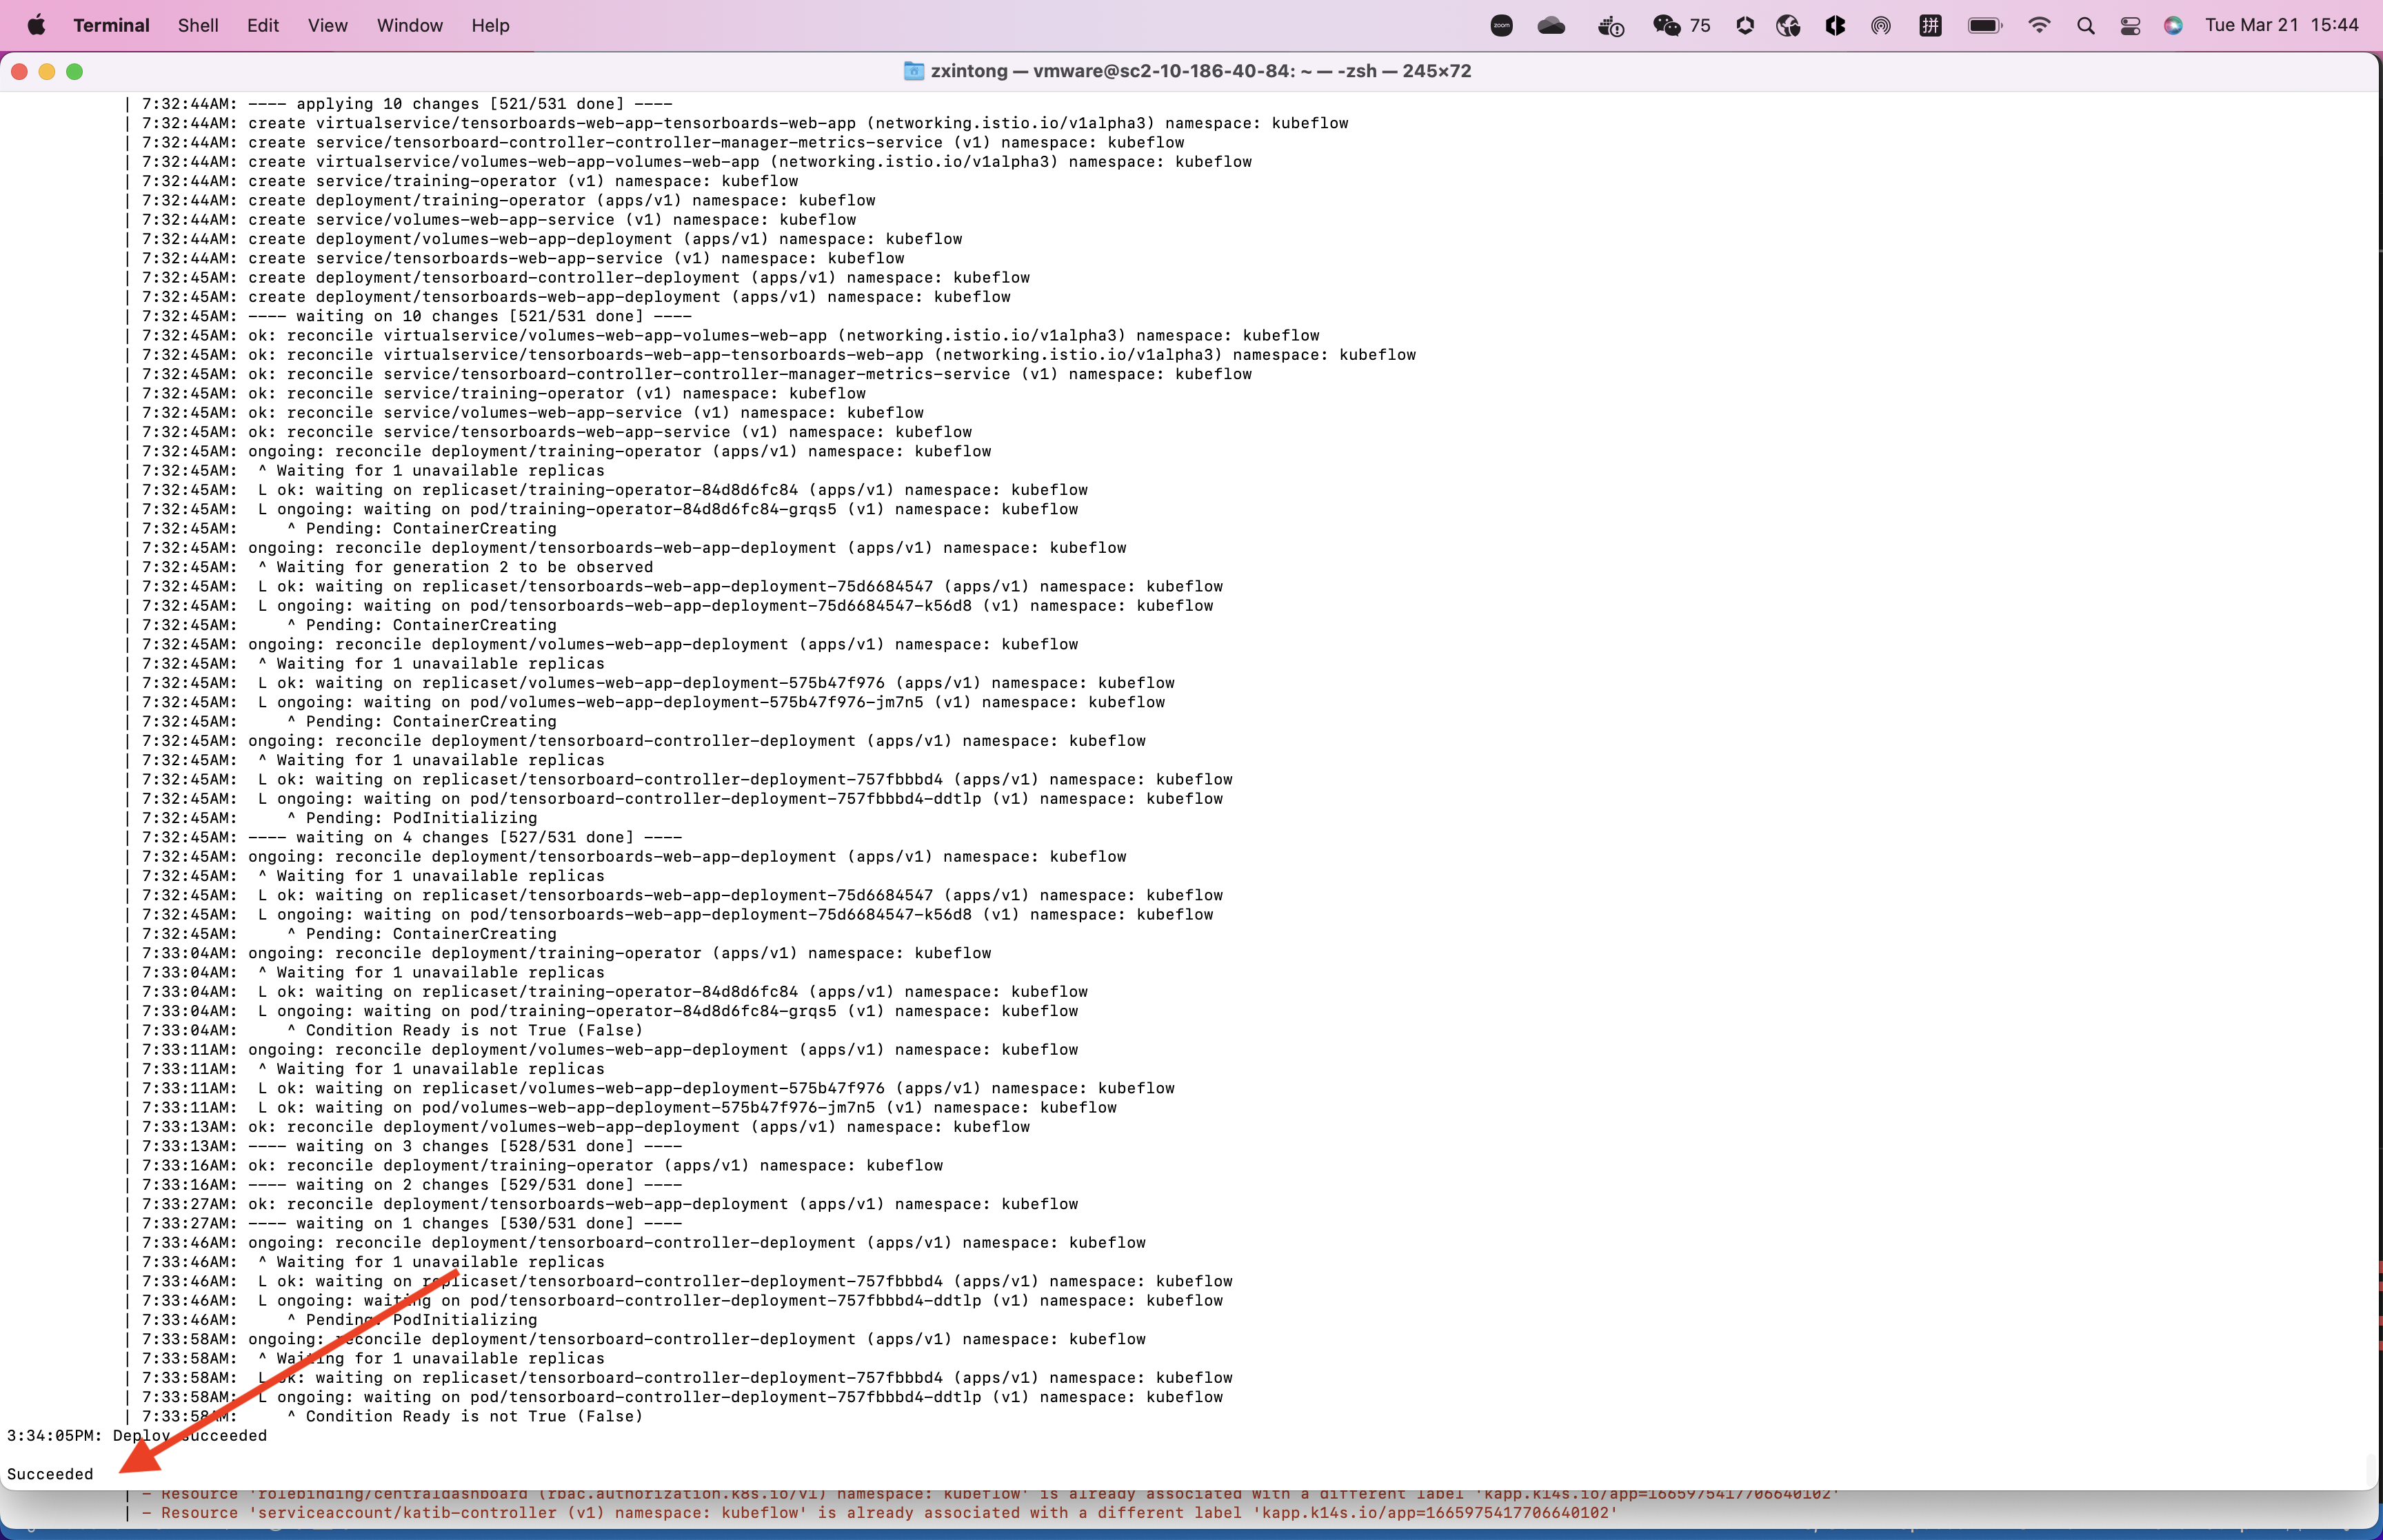
To follow the installation process, you can use:
kctrl package installed status -i kubeflow
Access Kubeflow on vSphere
Now, access the deployed Kubeflow on vSphere in browser and start using it.
To access Kubeflow on vSphere, you need to get the IP address of the service. There are three options.
When you set
service_typetoLoadBalancer, run the following command and visitEXTERNAL-IPofistio-ingressgateway.kubectl get svc istio-ingressgateway -n istio-system # example output: # NAME TYPE CLUSTER-IP EXTERNAL-IP PORT(S) AGE # istio-ingressgateway LoadBalancer 198.51.217.125 10.105.151.142 15021:31063/TCP,80:30926/TCP,443:31275/TCP,31400:30518/TCP,15443:31204/TCP 11d # In this example, visit http://10.105.151.142:80When you set
service_typetoNodePort, run the following command and visitnodeIP:nodePort.kubectl get svc istio-ingressgateway -n istio-system # example output: # NAME TYPE CLUSTER-IP EXTERNAL-IP PORT(S) AGE # istio-ingressgateway NodePort 198.51.217.125 <none> 15021:31063/TCP,80:30926/TCP,443:31275/TCP,31400:30518/TCP,15443:31204/TCP 11d kubectl get nodes -o wide # example output: # NAME STATUS ROLES AGE VERSION INTERNAL-IP EXTERNAL-IP OS-IMAGE KERNEL-VERSION CONTAINER-RUNTIME # v1a2-v1-23-8-tkc-v100-8c-dcpvc-4zct9 Ready control-plane,master 26d v1.23.8+vmware.2 10.105.151.73 <none> Ubuntu 20.04.4 LTS 5.4.0-124-generic containerd://1.6.6 # v1a2-v1-23-8-tkc-v100-8c-workers-zwfx4-77b7df85f7-f7f6f Ready <none> 26d v1.23.8+vmware.2 10.105.151.74 <none> Ubuntu 20.04.4 LTS 5.4.0-124-generic containerd://1.6.6 # v1a2-v1-23-8-tkc-v100-8c-workers-zwfx4-77b7df85f7-l5mp5 Ready <none> 26d v1.23.8+vmware.2 10.105.151.75 <none> Ubuntu 20.04.4 LTS 5.4.0-124-generic containerd://1.6.6 ## In this example, anyone of the following works: # http://10.105.151.73:30926 # http://10.105.151.74:30926 # http://10.105.151.75:30926Use
port-forward. Then visit the IP address of your client host.kubectl port-forward -n istio-system svc/istio-ingressgateway --address 0.0.0.0 8080:80 # if you run the command locally, visit http://localhost:8080
Then you use the IP to access Kubeflow on vSphere in browser.
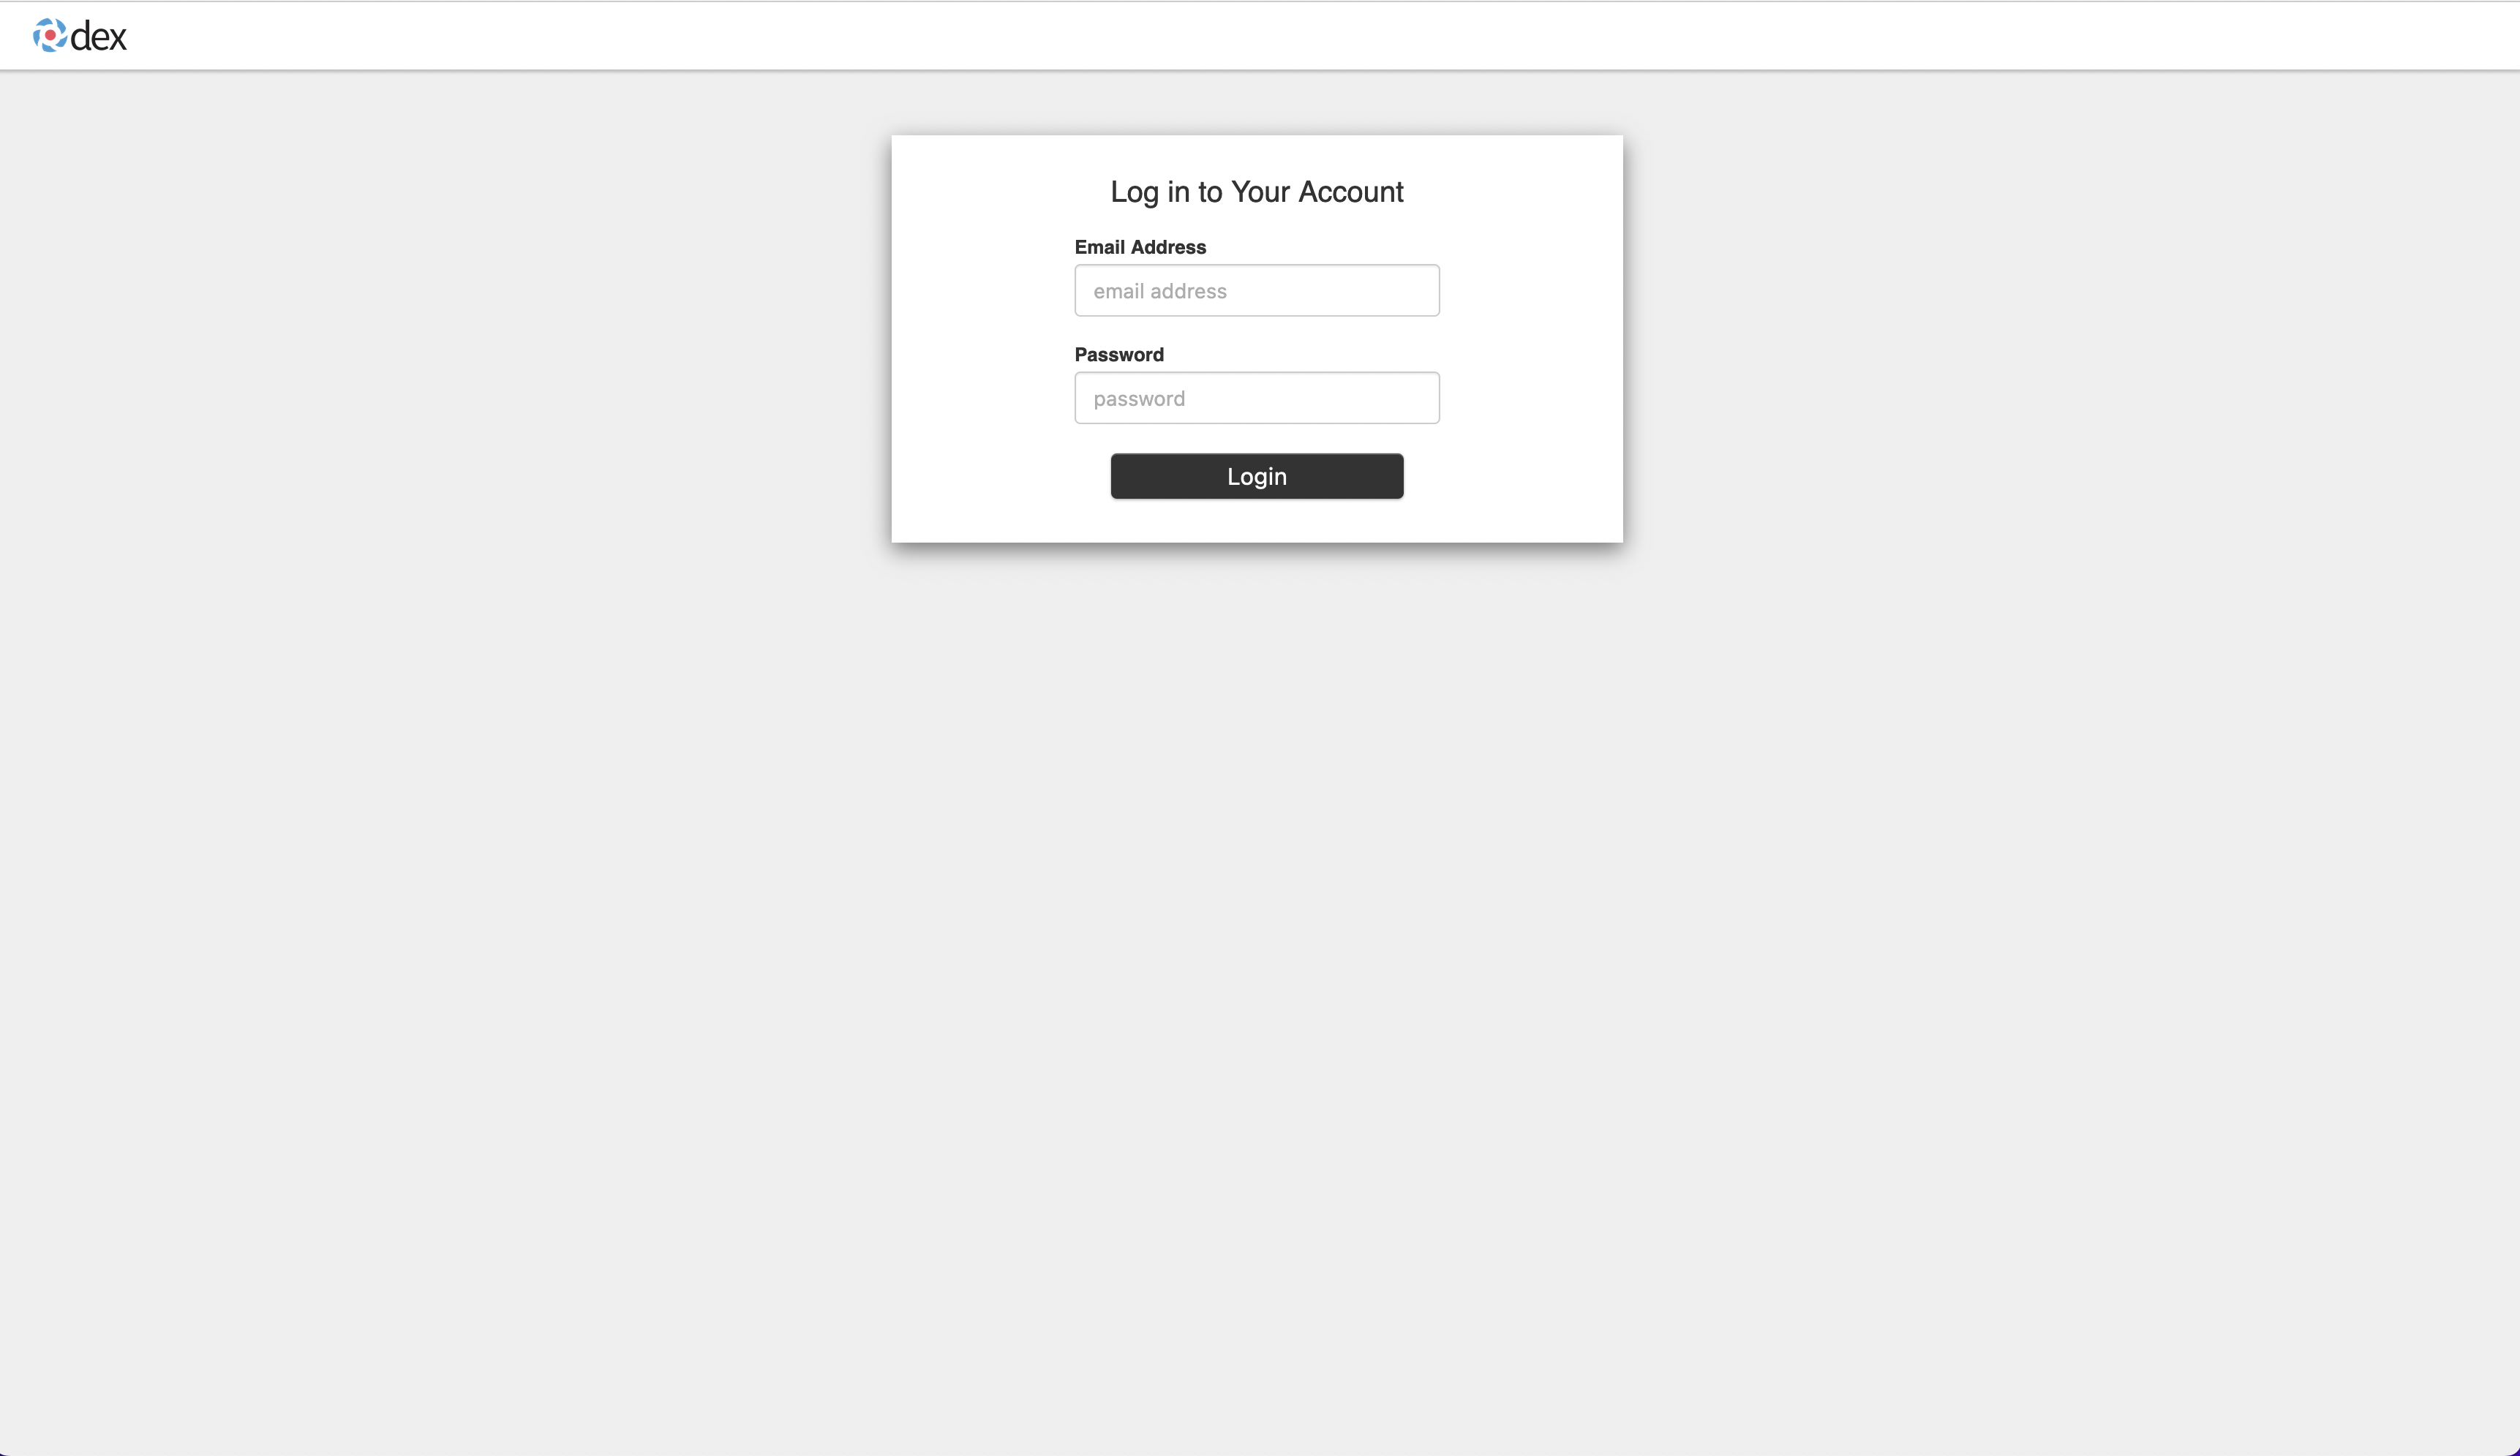
If you did not make any change to the Kubeflow on vSphere configurations, the default login credentials are: user@example.com / 12341234.
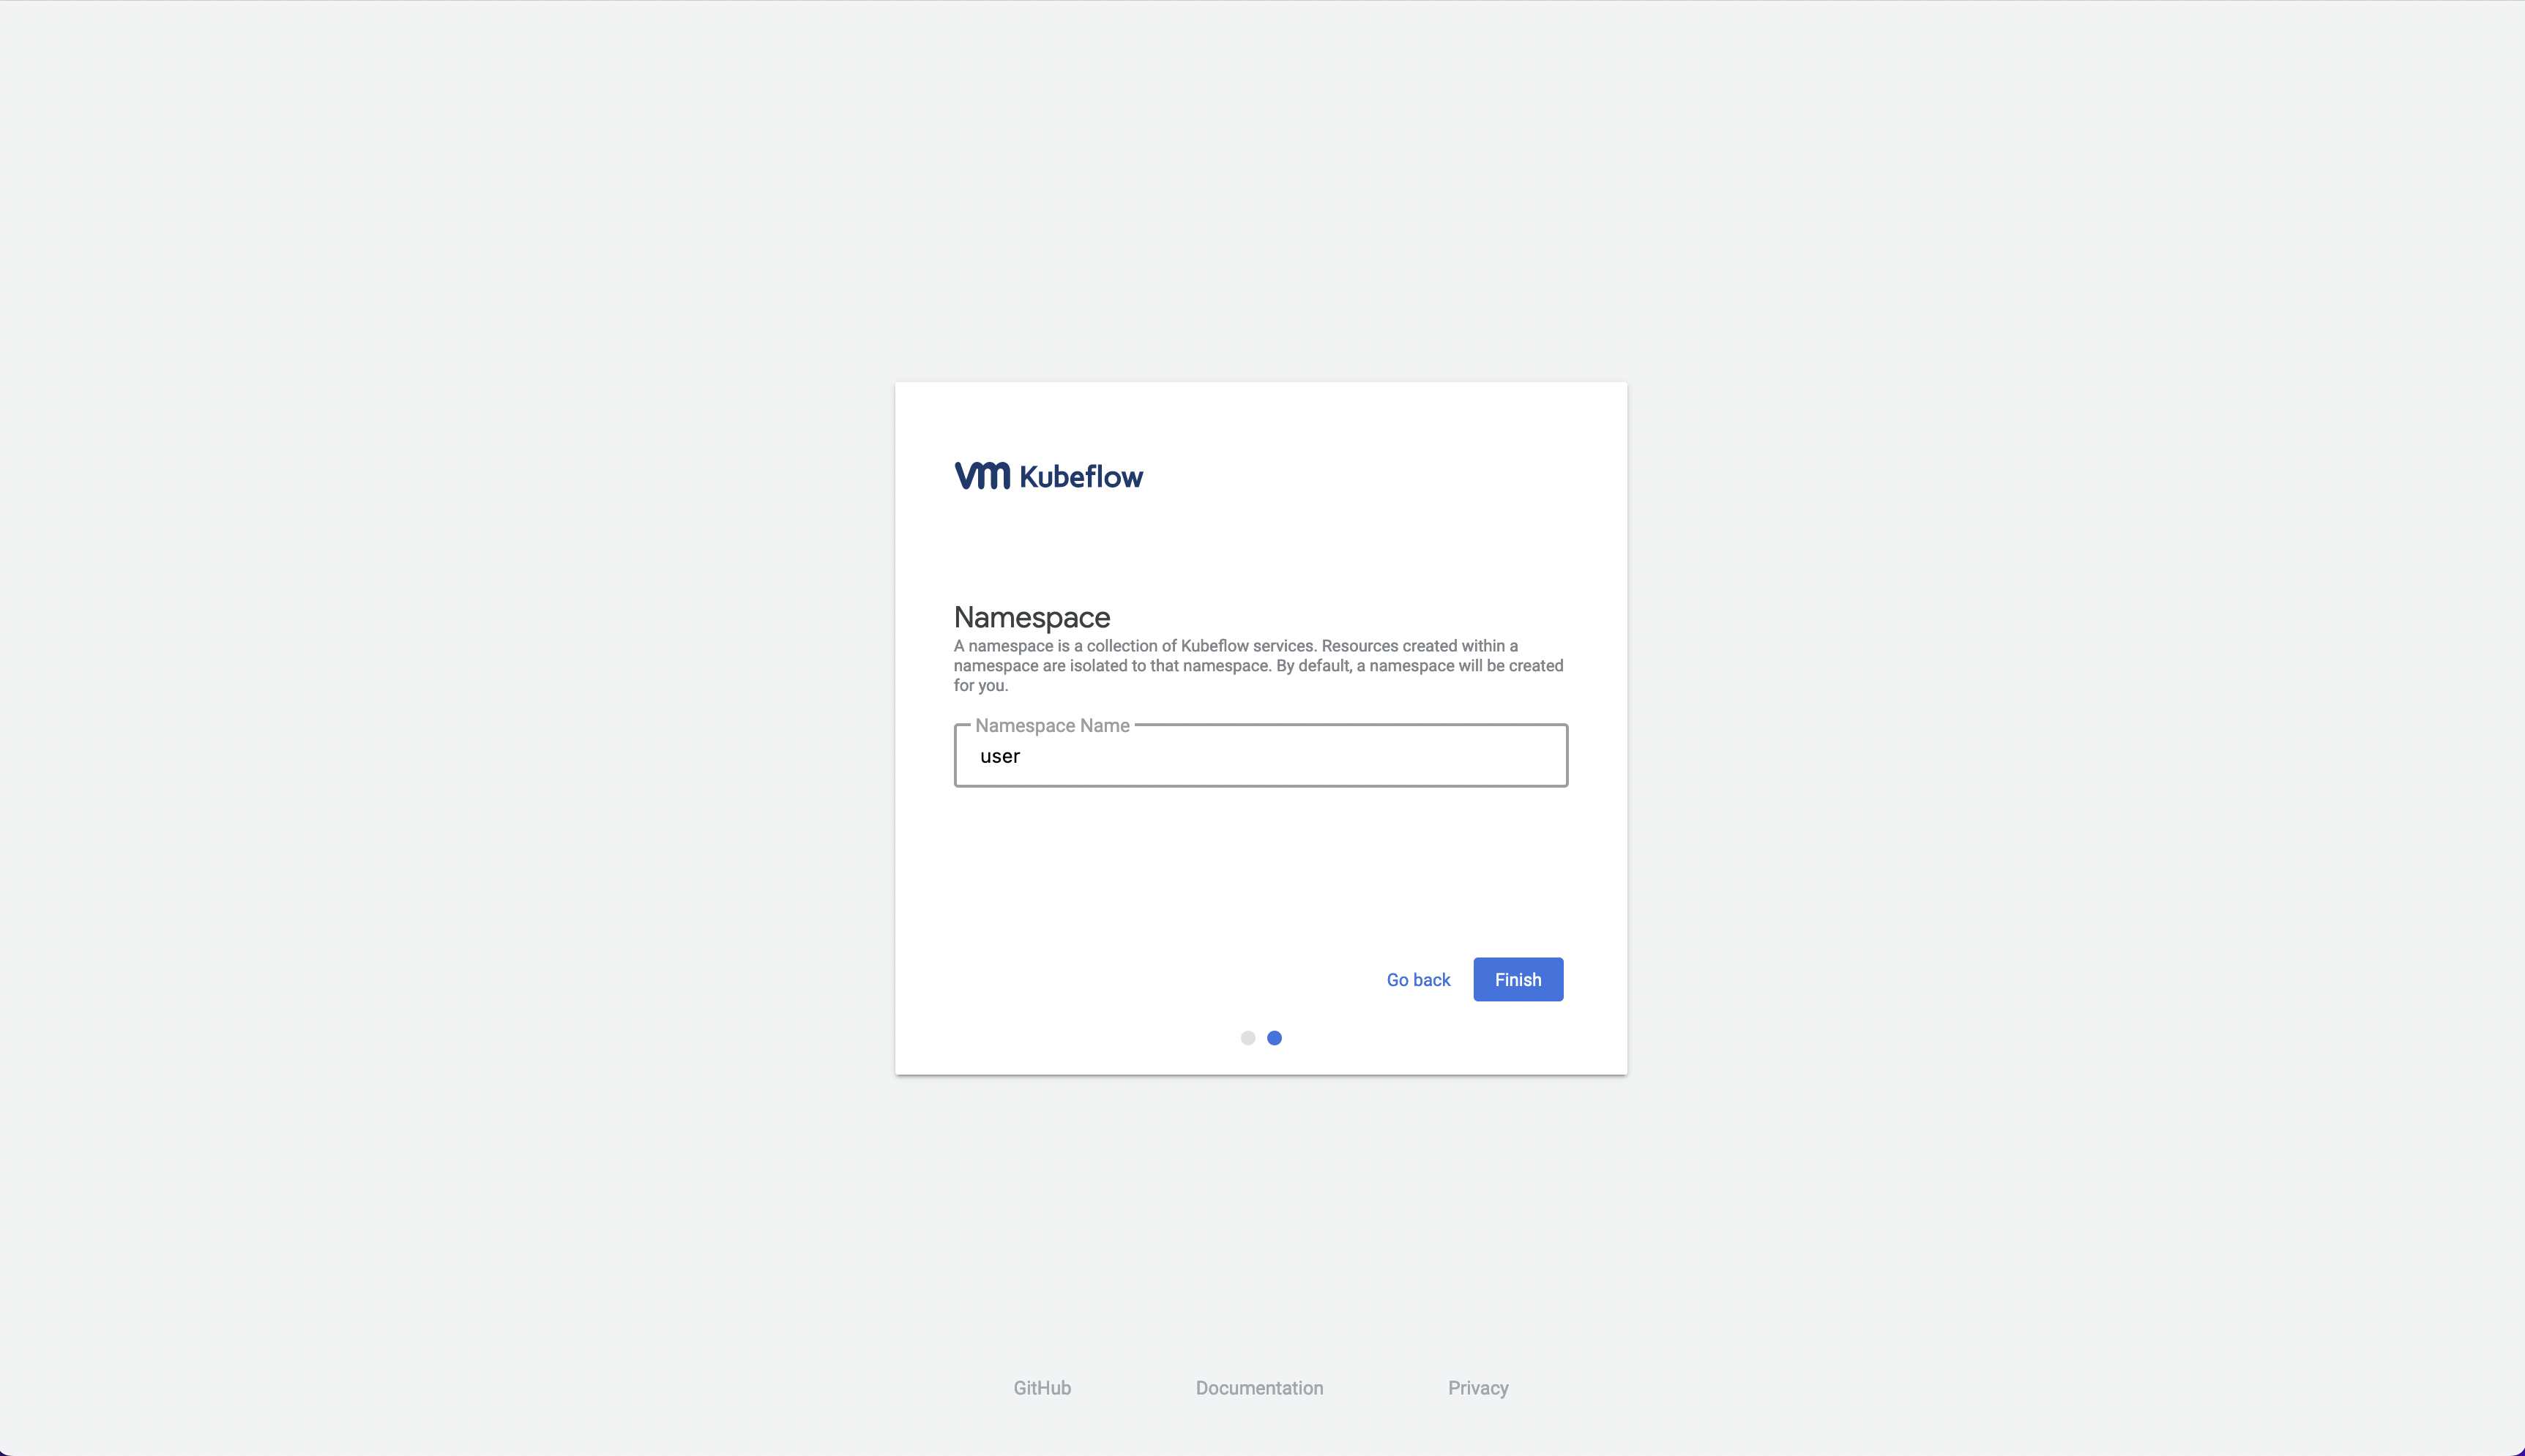
For the first time you login after deployment, you are guided to namespace creation page.
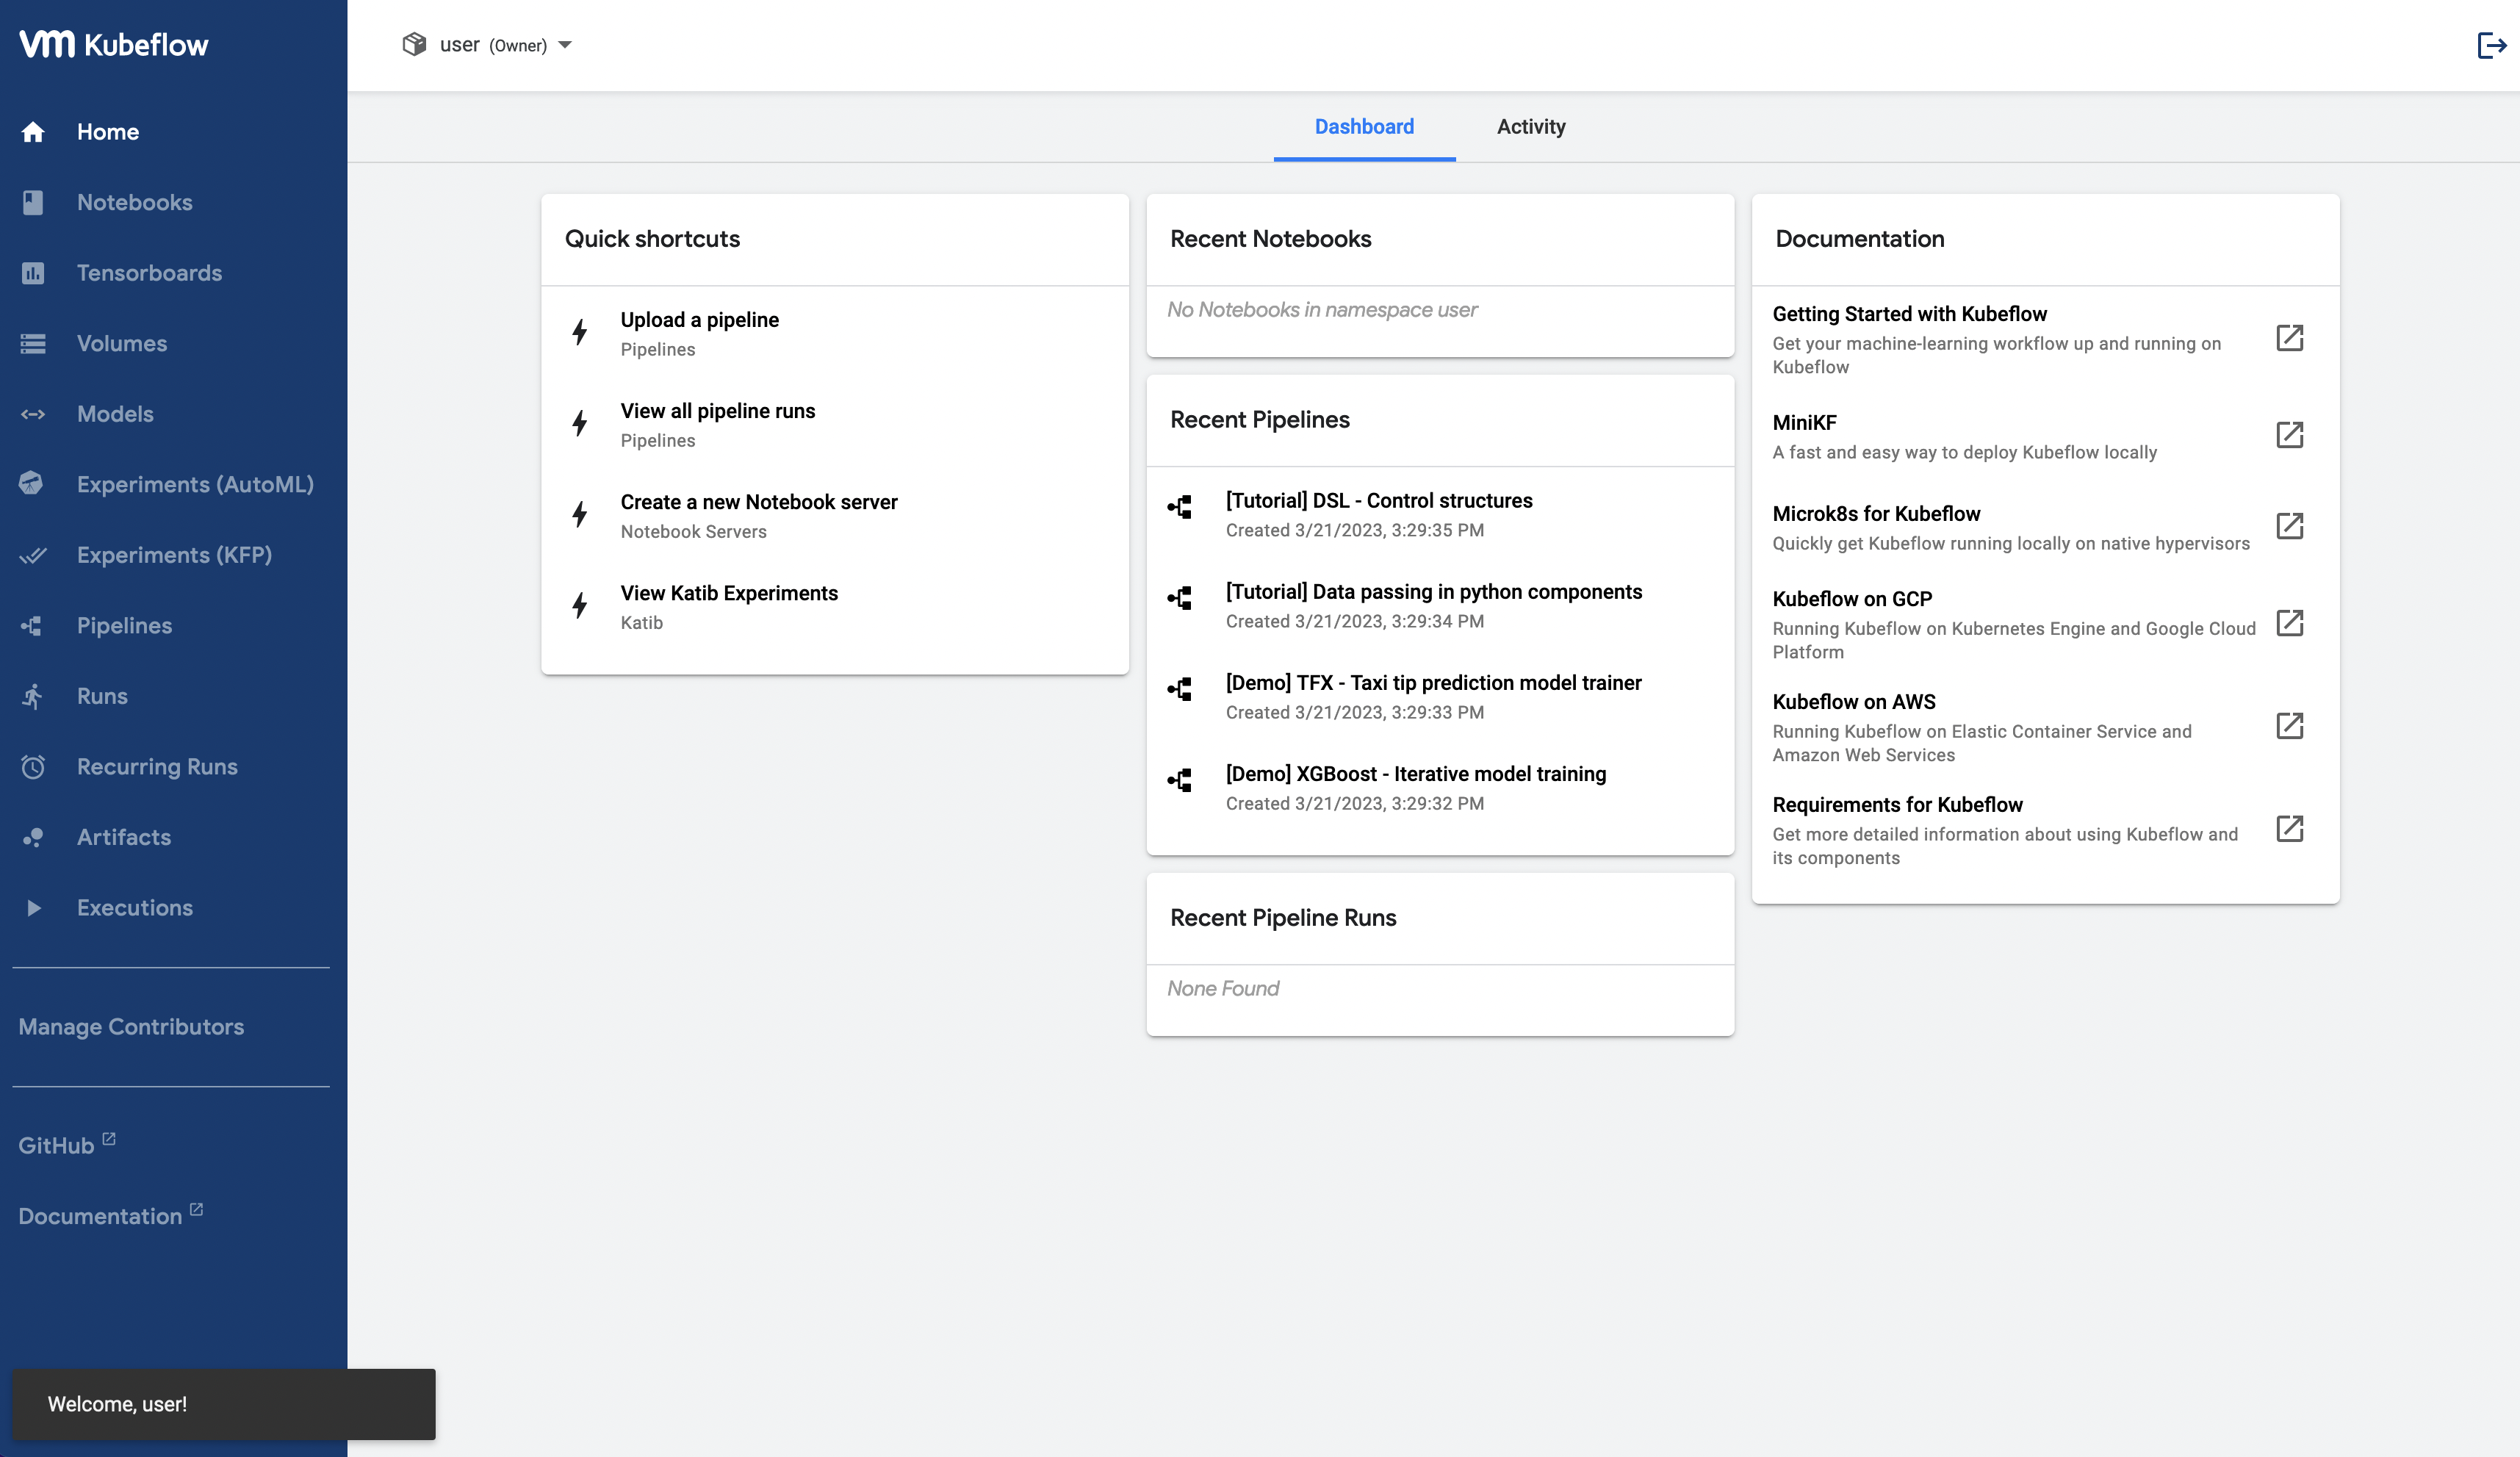
Then, the Kubeflow on vSphere web UI looks like below:
Configure pod permission and security policy
For your first time deployment, you need to configure pod permission and security policy in order to create and configure new pods. This is important because pod creation is needed for many Kubeflow on vSphere functions, such as Notebook Server creation.
To check your own user profile:
kubectl get profile
kubectl get serviceaccount,authorizationpolicies,rolebinding -n <namespace_name>
And to configure pod-security-policy, run the following command on your client host:
cat << EOF | kubectl apply -f -
kind: RoleBinding
apiVersion: rbac.authorization.k8s.io/v1
metadata:
  name: rb-all-sa_ns-<namespace_name>
  namespace: <namespace_name>
roleRef:
  kind: ClusterRole
  name: psp:vmware-system-privileged
  apiGroup: rbac.authorization.k8s.io
subjects:
- kind: Group
  apiGroup: rbac.authorization.k8s.io
  name: system:serviceaccounts:<namespace_name>
EOF
Note
Remember to replace namespace_name to the namespace that you work in.
Troubleshooting
More kctrl commands are found in kapp-controller’s native CLI documentation.
Delete the Kubeflow on vSphere package
To uninstall the Kubeflow on vSphere package:
kctrl package installed delete --package-install kubeflow
When deleting the Kubeflow on vSphere package, some resources may get stuck at deleting status. To solve this problem:
# take namespace knative-serving as an example
kubectl patch ns knative-serving -p '{"spec":{"finalizers":null}}'
kubectl delete ns knative-serving --grace-period=0 --force
Reconciliation issue
Kapp-controller keeps reconciling Kubeflow on vSphere, which prevents you from editing a Kubeflow on vSphere resource. In this case, you may pause and then trigger the reconciliation of Kubeflow on vSphere to solve this issue.
To pause the reconciliation of a package installation:
kctrl package installed pause --package-install kubeflowTo trigger the reconciliation of a package installation:
kctrl package installed kick --package-install kubeflow --wait --wait-check-interval 5s --wait-timeout 30m0s
Inspect package installation
To check the status of package installation:
kubectl get PackageInstall kubeflow -o yamlTo print the status of App created by package installation:
kctrl package installed status --package-install kubeflow
Update package configurations
To update the configuration of Kubeflow on vSphere package using an updated configuration file (i.e., config.yaml):
kctrl package installed update --package-install kubeflow --values-file config.yaml
Values schema
To inspect values schema (configurations) of the Kubeflow on vSphere package, run the following command:
kctrl package available get -p kubeflow.community.tanzu.vmware.com/1.6.1 --values-schema
We summarize some important values schema in below table.
Key |
Default |
Type |
Description |
|---|---|---|---|
CD_REGISTRATION_FLOW |
true |
boolean |
Turn on Registration Flow, so that the Kubeflow on vSphere Central Dashboard prompts new users to create a namespace (profile). |
IP_address |
“” |
string |
|
service_type |
LoadBalancer |
string |
Service type of |
Notebook Server creation failure
When you try to create a Notebook Server, you may meet the following error:
FailedCreate 1s (x2 over 1s) statefulset-controller create Pod test-01-0 in StatefulSet test-01 failed error: pods “test-01-0” is forbidden: PodSecurityPolicy: unable to admit pod: []
This error occurs because Notebook Server creation needs pod creation, and you did not configure the pod security policy correctly. To solve this error, you need to configure pod security policy based on Configure pod permission and security policy.
cert-manager-webhook is not ready
Cert-manager is used by Kubeflow components to provide certificates for admission webhooks. When you try to install Kubeflow, you may meet the following error about cert-manager:
Error from server (InternalError): error when creating "STDIN": Internal error occurred: failed calling webhook "webhook.cert-manager.io": failed to call webhook: Post "https://cert-manager-webhook.cert-manager.svc:443/mutate?timeout=10s": dial tcp 10.96.202.64:443: connect: connection refused
This error message indicates that the webhook is not yet ready to receive request. You simply need to wait a couple seconds and retry.
For more troubleshooting info about cert-manager, check https://cert-manager.io/docs/troubleshooting/webhook/