Running Project Photon on vCloud Air
Most of the contents are generally applicable, but some items have changed slightly. We're working through the catalog of changes. If you see something that's terribly out of sorts or incorrect, kindly either make the edit or raise an issue. Thanks - the Photon OS Team
What is Photon OS?
Photon OS is a tech preview of an open source, Linux container host runtime optimized for vSphere. Photon OS is extensible, lightweight, and supports the most common container formats including Docker, Rocket (rkt) and Garden. Photon OS includes a small footprint, yum-compatible, package-based lifecycle management system – called “tdnf”- and, alternatively, supports an rpm-ostree image-based system versioning.
When used with development tools and environments such as VMware Fusion, VMware Workstation, HashiCorp (Vagrant and Atlas) and production runtime environment (vSphere, vCloud Air), Photon OS allows seamless migration of container based apps from development to production.
Introduction
This document explains how to get started using Photon OS as a runtime environment for Linux containers by running Photon OS as a VM instance on vCloud Air. This guide will provide instructions on deploying Photon OS from the vCloud Air public catalog.
Once Photon OS is installed, this guide will also provide instructions on how to demonstrate how simple it can be to deploy a containerized application with Docker and will highlight the installation of a web server simply by running one command!
Photon OS on vCloud Air Prerequisites
The following items are required for preparing and launching Photon OS on Google Compute Engine:
- An account on vCloud Air
With the TP2 release, Photon OS is published in the vCloud Air catalog. Therefore, it is no longer to download a Photon OS image before getting started.
Creating a Photon OS Instance
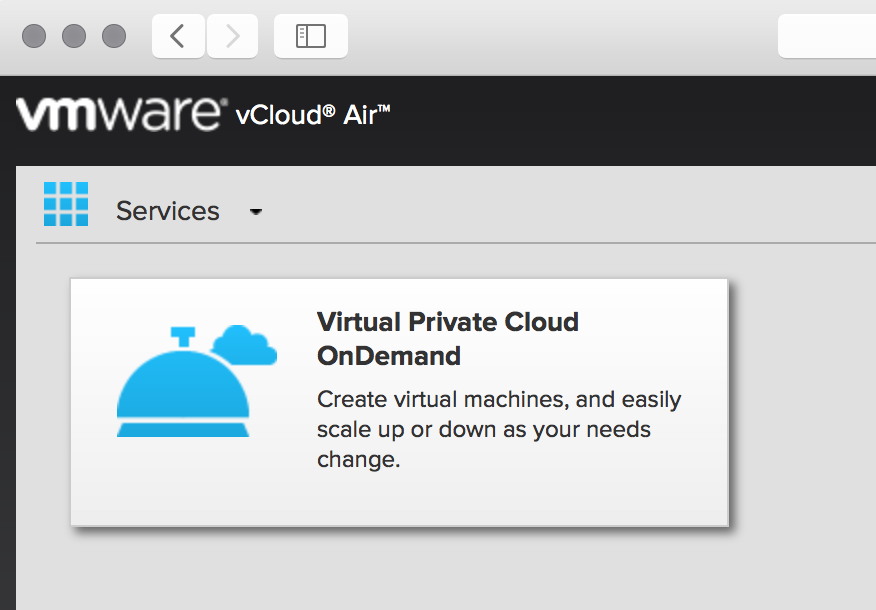
Begin by logging into your vCloud Air account and selecting the Service into which you'd like to deploy your Photon OS instance. In this example, we'll use the Virtual Private Cloud OnDemand Service.
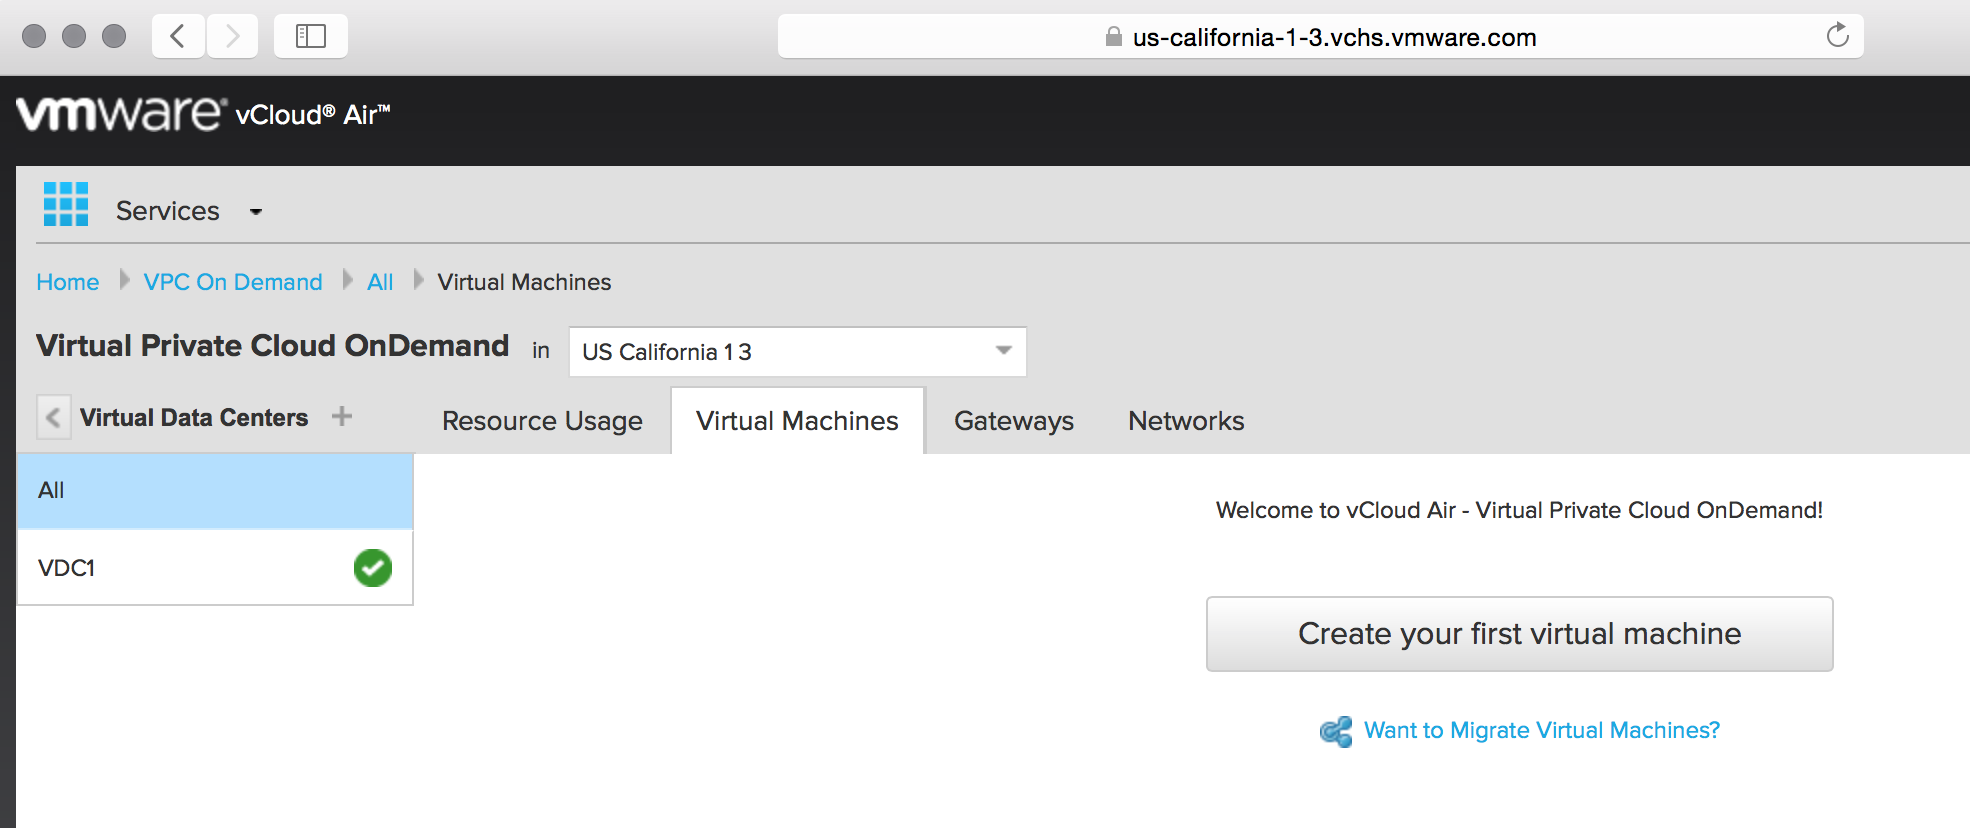
Once you've selected the Service for your instance, you'll need to specify the Location for your virtual datacenter from the list of vCloud Air locations. Clicking "Continue" will start the process of creating your virtual datacenter, an associated gateway and a routed network.
After vCloud Air is finished creating your virtual datacenter, you're ready to click the "Create your first virtual machine" button to create your Photon OS instance.
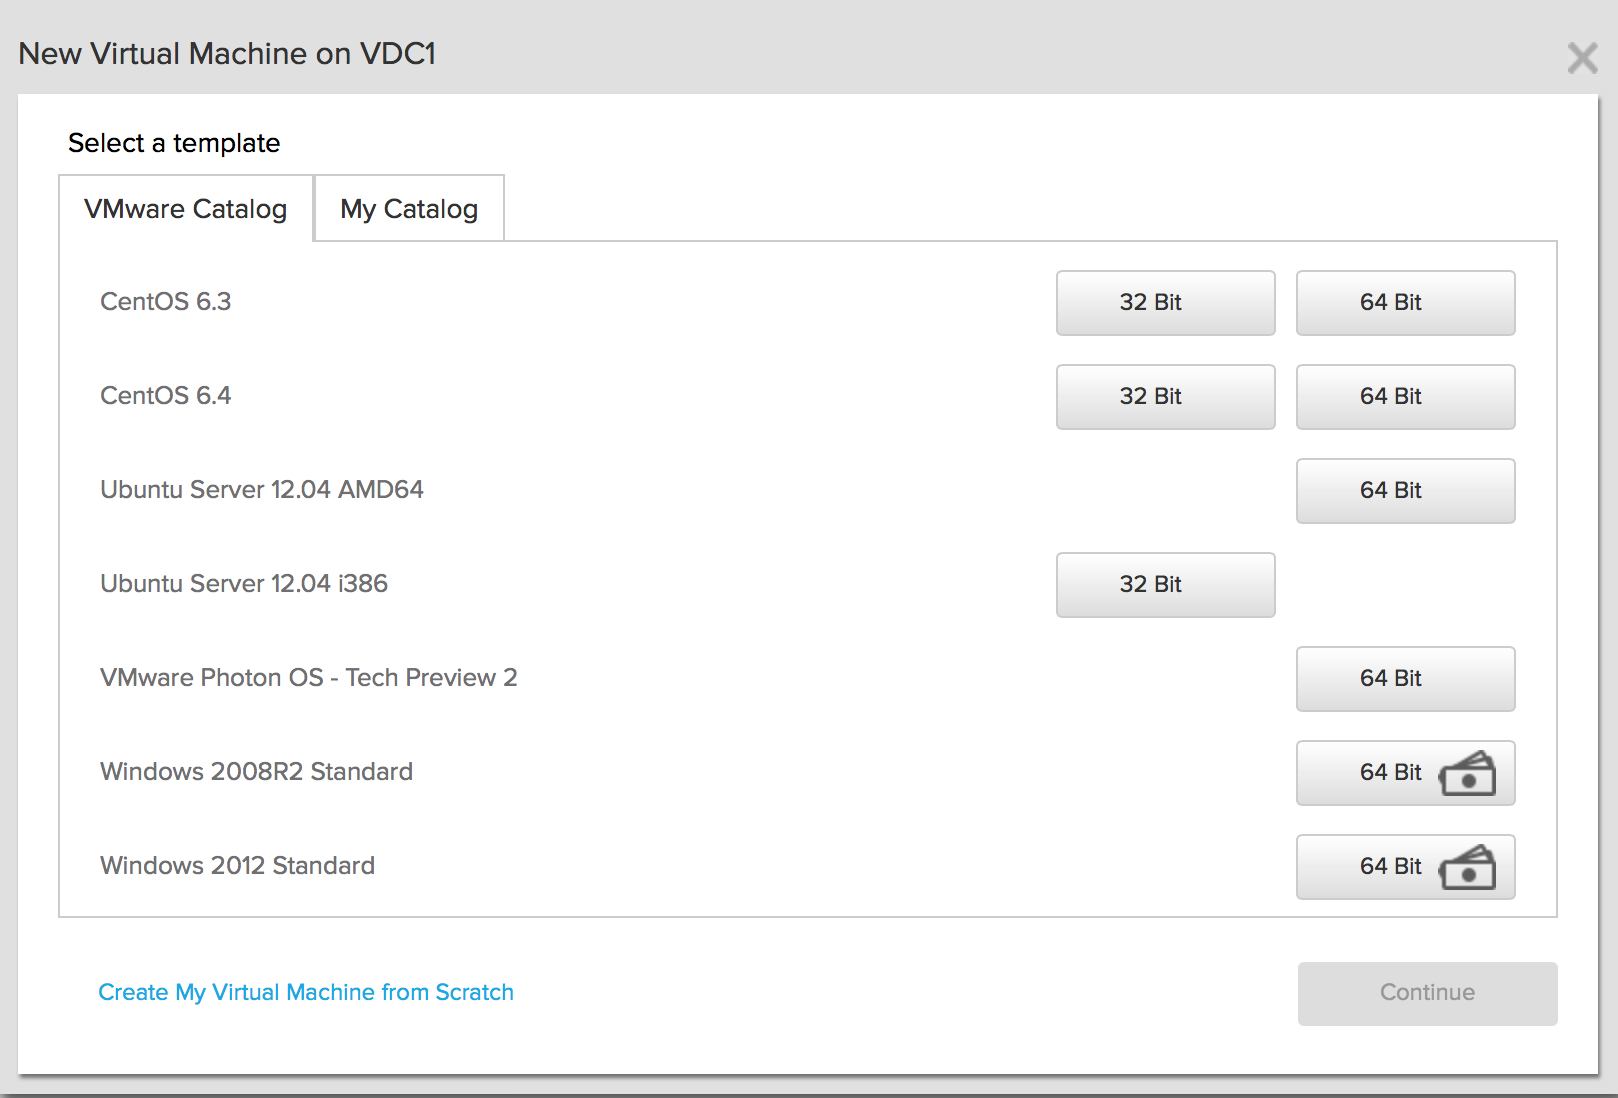
When you click the "Create your first virtual machine" button, you'll be presented the list of templates available in vCloud Air. Select the "64 Bit" option of VMware Photon OS - Tech Preview 2 and click the "Continue" button.
Before vCloud Air can create your Photon OS VM, you need to confirm the hardware configuration. The defaults presented are the recommended values; adjust as necessary to accommodate the container workloads that you expect to run in this Photon OS instance. Once you're satisfied with the hardware configuration, click "Create Virtual Machine" Once complete, you should see your powered-on Photon OS instance ready to start the Docker engine and run a container workload.
Installing a Containerized Application to Help Demonstrate Capability
Now that you have your container runtime environment up and running, you may be wondering, “what can I do now?” A command prompt is not the most exciting! To help to demonstrate the ease in which you can deploy a containerized application, we will showcase how you can quickly get a Web Server up and running.
For this example, we will use the popular open source Web Server Nginx. The Nginx application has a customized VMware package and published as a dockerfile and can be downloaded, directly, through the Docker module from the Docker Hub.
To run Docker from the command prompt, enter the command below to initialize the Docker engine:
systemctl start docker
To ensure Docker daemon service runs on every subsequent VM reboot, enter:
systemctl enable docker
Now the Docker daemon service is running, you're almost ready to “pull” and start the Nginx Web Server container from Docker Hub. First, you'll need to ensure that you've configured your vCloud Air VM to be connected to the Internet by following the instructions found, here. Once your Photon OS VM is connected to the Internet, the Docker engine can pull images from the Docker hub; to pull down the VMware-modified nginx container, type the following command:
docker run -d -p 80:80 vmwarecna/nginx
This will then pull the Nginx Web Server files and appropriate dependent containers to ensure this containerized application can run. You will see a screenshot similar to below, as the container and dependencies are downloaded and the container is prepared to run:
Once “docker run” process is completed, you will be returned to the command prompt. You now have a fully active website up and running through typing just a single command within Photon OS using containers.
To test that your Web Server is active, we need to get the IP address of the Photon OS Virtual Machine. To get the IP address, enter the following command 'ifconfig'. This command will display a list of network adapters connected to the virtual machine. Typically, the web server daemon will be bound on “eth0;” record the IP address associated with eth0. Alternatively, visit the network tab of the status page of your Photon OS instance where the IP address is listed under “Virtual Machine IP." Start a browser on your host machine and enter the IP address of your Photon OS Virtual Machine. The following screen should appear and that will show that your web server is active:
You can now run any other containerized application from Docker Hub or your own containerized application within Photon OS.